![[New] From YouTube to Excitement Easy Guide to Making Animated GIFS for 2024](https://thmb.techidaily.com/04440a12467eb00d2e76ab58c49996f10e544f909e1d6b3abfc42368ffd69851.jpg)
"[New] From YouTube to Excitement Easy Guide to Making Animated GIFS for 2024"
From YouTube to Excitement: Easy Guide to Making Animated GIFS
GIF editor: How to Make Animated GIF Images online from YouTube Video

Richard Bennett
Mar 27, 2024• Proven solutions
YouTube videos are fun and easy to access, they deliver a very good value and you will always have fun using them. But there are situations where these videos can integrate some interesting, funny moments and this is why creating a GIF out of them can be a good idea. You can make GIF from video if you want and all you need is a good GIF editor, which is very impressive to say the least.
You May Also Like:
Royalty free music for YouTube Videos >>
Best Screen Recorders for YouTube >>
It’s not a problem to use the GIF files as a way to express yourself so using a GIF editor to create the GIF you want is not only interesting, it can also bring in front a very good value and interesting options for sure. You should totally give it a shot if you can.
Tools that can help you make gif images from YouTube video
Lots of apps can help you do this and most of them are online based. This basically means that you can create a GIF from video without that much of a hassle. All you have to do is to find the right video and the best moments, edit it and then use this video to create the GIF you want. The process is easy and fun and it will provide you with a great value for sure.
1. imgur.com
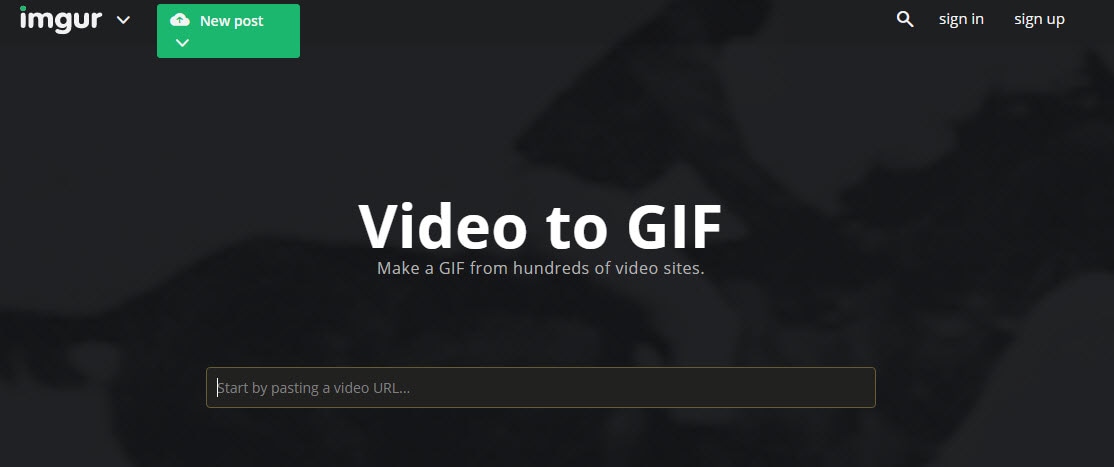
This tool requires you to add in the YouTube link and then you press Enter. Once you do that the app will do its job on its own. It’s certainly a very interesting option and one that will deliver a lot of value for all kinds of users. It’s an exciting experience for sure just because you get so much value and incredible results without that much of a hassle. You can add captions to the app which is great.
2. likeyoyo.com

Using this app is simple, you paste the URL, press Enter and then the GIF is created automatically. They integrate some share buttons and a set of tools to help you move this, but it’s not that hard to use and it’s very user friendly to be honest.
3. makeagif.com
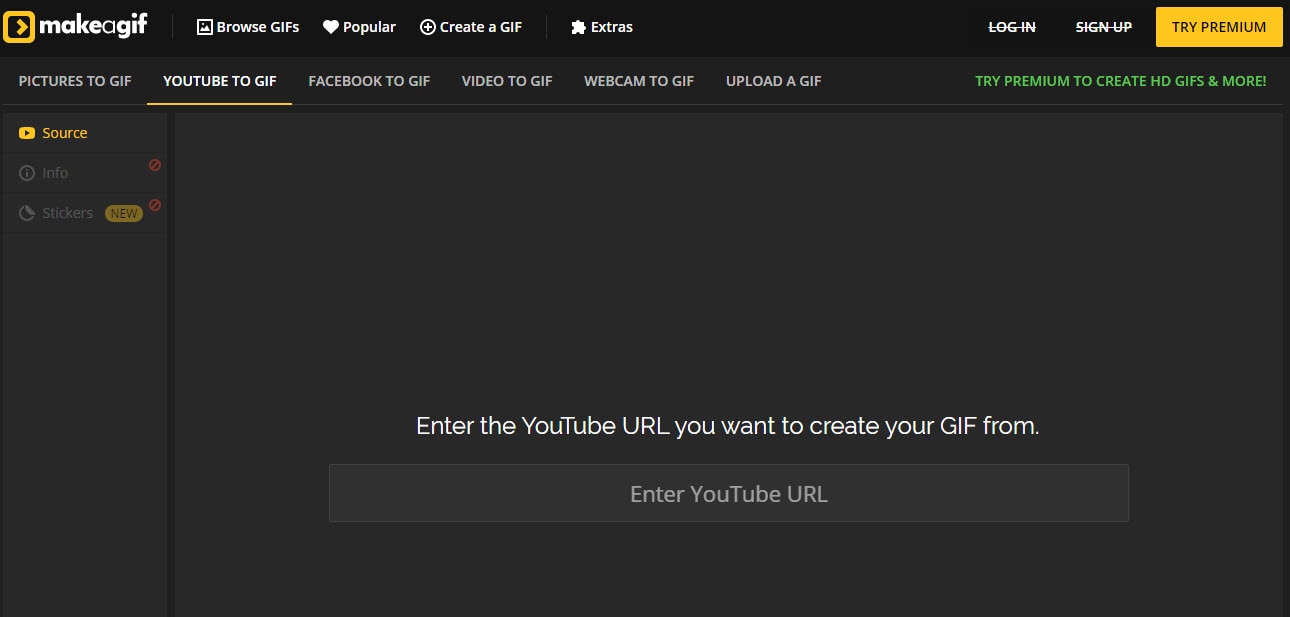
This is a great, easy to use online tool that just requires you to add in the video URL you want and then wait until it’s done. It’s certainly a great tool to use and one that will deliver a lot of value.
Add more fun on your GIF with Wondershare Filmora
Wondershare Filmora is a refined application that allows you to make GIF from video fast and with great results. It features an interesting set of tools, it’s very easy to modify and it does bring in front interesting options for sure. It’s designed with ease of use in mind and it does enable you to add in many animated effects which is always a major plus for this kind of tool.
However, if you want to make a GIF online, Filmora meme maker is your ultimate solution. It helps you make image, GIF and video memes directly without watermark. It is totally FREE to use and no sign up. You can change text size, color and position to create caption when you are editing. You can also put text inside or outside in GIF. Just with a few clicks, your GIF is done. Try it now!
 Download Mac Version ](https://tools.techidaily.com/wondershare/filmora/download/ )
How to use?
Using Wondershare Filmora is actually very easy and the process is designed in order to deliver lots of value to the user without making the experience complex or boring. In fact, you just have to use the following steps in order to get the best results:
- At first you will have to import your GIF file and it allows you to bring in front immense possibilities since you can edit GIF on the fly.
- Once you have the file imported, you will need to drag that file you want to edit to the timeline.
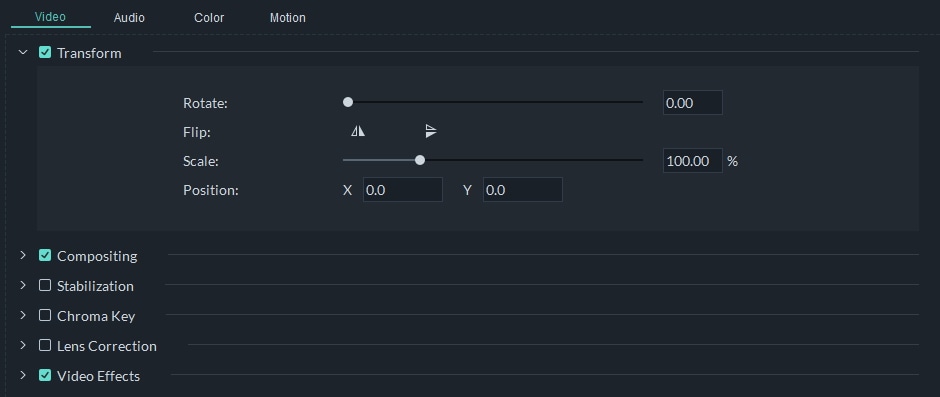
- Double clik on the clip in the timeline. You will be able to edit GIF, you can rotate, scale or flip which is very helpful.
- Although it’s not mandatory, you can try to add filter to the GIF in order to make the experience more interesting.

- Lastly, when you are done with the process you can export to format GIF. This is a very good value and it will provide you with a stellar experience.

Conclusion
Using Wondershare Filmora in order to edit GIF and create GIF from video is a very good idea. The app is designed to offer some amazing features and it’s also very easy to use. If you want to take on such a task, then Wondershare Filmora is certainly the tool for you so just give it a shot and you are bound to love it!

Richard Bennett
Richard Bennett is a writer and a lover of all things video.
Follow @Richard Bennett
Inverted Playback: The Hidden Technique for a Reversed YouTube List
If you have ever created a playlist on YouTube, you may have noticed that the order of the videos is automatically set and based on when they were added to the list. However, it would help if you played them in reverse order.
Surprisingly, there is no built-in way to do this on YouTube. However, four simple workarounds only take a few minutes to complete.
So, keep reading to learn how to reverse a YouTube playlist so you can watch the videos in the order you want!
How to Reverse a YouTube Playlist?
Below we’ve provided four different solutions to help you reverse your YouTube playlist on your computer:
Using Chrome Web Extension
One of the most straightforward and convenient methods of reversing the YouTube playlist is to install a Chrome browser extension that will let you play any playlist in the opposite order.
The “Iridium for YouTube” and “Improve YouTube” extensions on your Google Chrome can play any YouTube video queue or playlist in reverse.
Here’s how to install the “Iridium for YouTube” extension on your Chrome browser to reverse the playlist:
Step 1: In the first step, launch a browser on your computer and click the three dots (ellipsis icon) in the top-right corner of the screen. Scroll down, select “More Tools,” and click Extensions.”

Step 2:
- Now, click the three horizontal-line”Menu”icon.
- Click the”Open Chrome Web Store”option.
- Search for theIridium for YouTubeextension using the search bar.

Step 3:
- Open the extension page.
- Click”Add to Chrome.”
- Click the”Add Extension”option in the pop-up menu.

Step 4:Open a new page, visit YouTube , and a pop-up window will appear. Select”Close”to terminate it, and clickthe”Menu”(hamburger) icon in the top left corner of the screen. Next, scroll down and open your savedPlaylistthat you want to reverse.

Step 5: Click the “Play All” option in the details section of the playlist and click the Iridium button on the right side of the screen. This will open a new tab with different settings for your playlist. Go to the Video tab, and under the “Playlist” header, toggle the button next to “Enable reverse playlist control” to change the settings.

That’s about it. You will now be able to watch a YouTube playlist in reverse order.
Using The Third Website
Several trusted and reliable third-party websites, such as “Playlist. tools,” can help you reverse your YouTube playlists quickly. The platform is free and fully dedicated to instantly changing the order of your Playlist.
Here’s how you can use the Playlist.tools to reverse your videos’ order in a playlist on YouTube:
Step 1: Launch a browser on your laptop or desktop, head to theYouTube website, and click the three-line “Menu” icon. Now, scroll down to access the playlist you want to reverse, click the “Share” icon, and click “Copy” to save the URL to your clipboard.
Step 2: In the next step, open a new tab and visit the “Playlist.Tools” website. Now, paste the copied playlist URL in the provided text box, and the platform will start retrieving it.

Step 3: Finally, click the “Sort” icon and select descending order to reverse your playlist. You can always return to the original sequence by clicking the “Original Sequence” option in the top right corner of the screen.
Changing the Ordering in Settings
If you are a content creator on YouTube and want to reverse the videos’ order in a playlist on your channel, do the following steps in sequence:
Step 1: In the first step, launch the YouTube app on your device or visit the YouTube website on a browser. Go to “Library” and open the playlist of your choice.
Step 2: Hover over the video, and you will see two horizontal lines next to it. Click/tap & hold the video and drag it to a new location to change its order.
You can also utilize the “Sort” option to reverse the playlist. To do so, click “Sort” at the top of the playlist above the videos and select “Date Published (Oldest)” to change the order.

A Bonus Tip for YouTube Creator: Make Your Own YouTube Channel Trailer
As a YouTube content creator, you need to set your videos’ order in your Playlist. Besides, the video’s trailer also influences your audiences’ browsing and watching experience. To help you with this part in case you are in need, we have prepared a video tutorial for you - How To Make Your Own YouTube Channel Trailer. If you have any interests, please don’t miss it, and see how to make a fantastic video trailer with a user-friendly video editor Wondershare Filmora :
Adding Playlist to Your Private Playlist
If you want to reverse a YouTube playlist order, you can create a new private playlist. This quick and easy method will help you get the desired results.
For this method to work, you don’t need to download any third-party app or use a website; all you have to do is open YouTube on any browser or use the YouTube app in the following way:
Step 1: In the first step, launch the YouTube app on your device or visit the YouTube website (if you are logged out, sign into your account using your credentials).
Step 2: In the next step, click your Profile at the top right of the screen and select the “Your Channel” option from the drop-down menu to access your YouTube channel.
Step 3: Scroll down on your channel’s dashboard, select a video, and click the three dots next to it. Next, click “Add to Playlist” from the drop-down list and select the “Create a New Playlist” option to make a new one.

Next, provide a name, set the privacy settings to “Private,” and click “Create.”
Step 4: In the final step, head to the Playlist tab, click “View Full Playlist” to open the new playlist, and click the “three dots” in the details area on the left. Next, select “Playlist Settings” and toggle the button next to “Add new videos to top of playlist” to enable it.
You can now add more videos to your playlist, and each one will be added to the top. This method helps you arrange the YouTube playlist as you desire.
The Bottom Line
In this article, we’ve provided four different step-by-step solutions to show you how to reverse a YouTube playlist on your PC and mobile device using Chrome extension, a third-party website, changing settings, and adding videos to a new private playlist.
Hopefully, you’ve found this article helpful and can now watch your favorite playlist in the order you like without any issues.
If you have ever created a playlist on YouTube, you may have noticed that the order of the videos is automatically set and based on when they were added to the list. However, it would help if you played them in reverse order.
Surprisingly, there is no built-in way to do this on YouTube. However, four simple workarounds only take a few minutes to complete.
So, keep reading to learn how to reverse a YouTube playlist so you can watch the videos in the order you want!
Also read:
- 「MpegTsからMP4への無償オンライン変換 - モバヴァイ」
- Download and Install Insignia VGA Adapter Drivers for Your USB Connection
- Gratuit Verbetering Van F4v Naar Mp4-Files - Online & Luchtkomende Oplossingen | Movavi
- Gratuité Garantie : Transformez Votre Vidéo TGA en Ligne Avec Movavi
- How Can We Unlock Our OnePlus Ace 2 Phone Screen?
- How to Cast Vivo V30 Pro to Computer for iPhone and Android? | Dr.fone
- In 2024, Step-by-Step Tutorial How To Bypass Tecno FRP
- The Essential Resource for Computer Enthusiasts: Exploring Tom's Hardware Reviews
- Top 6 Apps/Services to Trace Any Nubia Red Magic 8S Pro Location By Mobile Number | Dr.fone
- Trasformare File .aifc Su WAV Gratuitamente Con Movavi
- 무료 Movavi에서 인터넷에서 JPG/JPEG 이미지 변환 서비스 - 편집기
- Title: [New] From YouTube to Excitement Easy Guide to Making Animated GIFS for 2024
- Author: Jeffrey
- Created at : 2025-03-04 19:41:23
- Updated at : 2025-03-05 17:51:36
- Link: https://eaxpv-info.techidaily.com/new-from-youtube-to-excitement-easy-guide-to-making-animated-gifs-for-2024/
- License: This work is licensed under CC BY-NC-SA 4.0.