
![[Updated] Harness 10 Tools for FREE Thumbnail Acquisition for 2024](https://thmb.techidaily.com/9e54865f3f57ec57dc69d69631538169245afb52f02b58f105955b7146a11c16.jpg)
[Updated] Harness 10 Tools for FREE Thumbnail Acquisition for 2024
Harness 10 Tools for FREE Thumbnail Acquisition
10 Free YouTube Thumbnail Downloaders/Savers Online-Download YouTube Thumbnail

Shanoon Cox
Mar 27, 2024• Proven solutions
YouTube thumbnails can be required for download for various reasons ranging from personal to professional. Some thumbnails are very attractive, and users might want to download YouTube thumbnail to use as wallpaper or as inspiration. Whereas other times, thumbnails are required to be added to blogs.
In either case, you can take help from a YouTube thumbnail downloader that can save your day. As the name suggests, a YouTube thumbnail saver can let you save any thumbnail you like, and sometimes you can also custom select the quality. For your ease, we have rounded up the best tools to download YouTube thumbnail.
Let’s dive in.
- 10 Free Online YouTube Thumbnail Downloaders/Savers
- Bonus Tip: The Best YouTube Video Editor-Wondershare Filmora
10 Free Online YouTube Thumbnail Downloaders/Savers
There are tons of tools on the web that let you download YouTube thumbnail. But, not all of them are reliable and secure. Choosing the best YouTube thumbnail downloaders that offer all the features you are looking for can be time taking and tedious. So, we are here to save the day by listing the top YouTube thumbnail saver tools.
1. ThumbnailSave
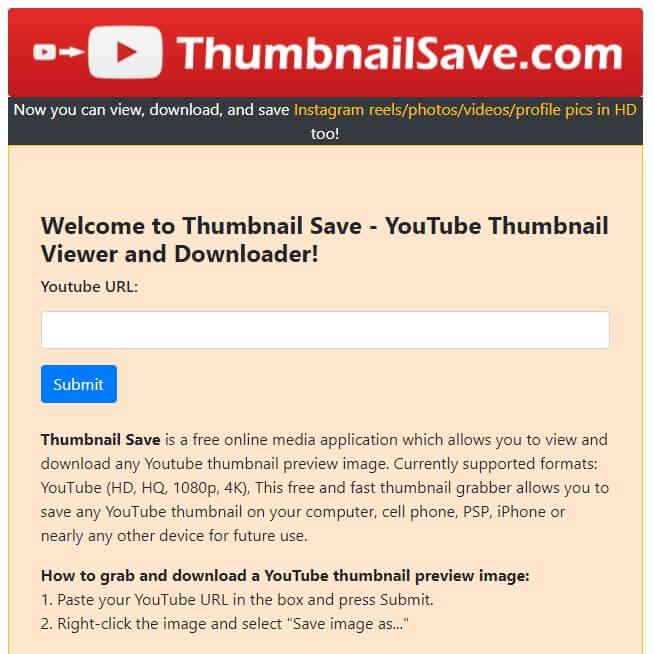
As a free YouTube thumbnail downloader, ThumbnailSave is frequently used by people. It enables users to download YouTube thumbnail without any hassle. There a variety of resolutions available, and you can choose the quality you like, ranging from HD to 360p. The simple interface of this downloader further makes it an excellent tool. All you have to do is enter the URL link and click Save As after the thumbnail is loaded. Also, this versatile YouTube thumbnail downloader works on almost every kind of device. Whether you are using a desktop PC or an iPhone, ThumbnailSave is compatible with all.
2. YouTube Thumbnail Grabber

Another powerful and free YouTube thumbnail downloader is this one, which can download both YouTube and Vimeo thumbnails. After you copy-paste the link of the video whose thumbnail you wish to save, you can press on Get Thumbnail Images. After that, you can choose the quality of the thumbnail as per your requirements. Moreover, you can also get a free extension of this YouTube thumbnail saver on both Chrome and Firefox browsers. This will allow fast and easy use of the YouTube thumbnail downloader. What’s more, unlike other downloaders, this one doesn’t bombard the user with pesky ads.
3. Youthumbnail.com
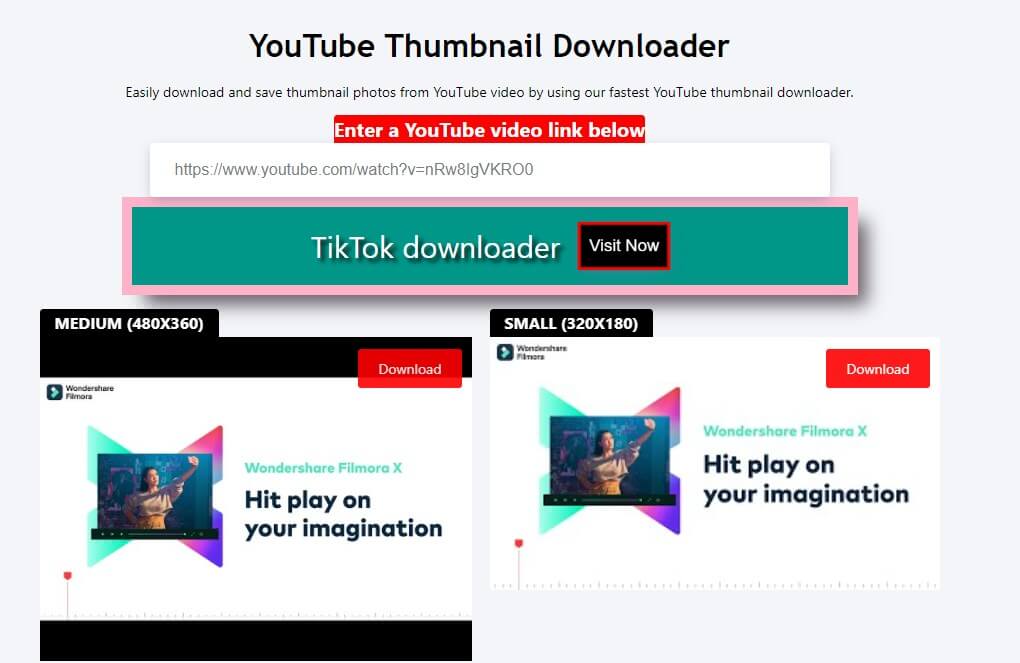
YouThumbnail, also known as YT YouTube thumbnail downloader, is a robust tool that allows users to quickly download YouTube thumbnail absolutely free of cost. It requires no installation. Three different sizes, namely medium, small, and HD, are available for download. By clicking on the desired quality, you can quickly and safely download YouTube thumbnail. Also, there is no limit to the number of downloads. Better yet, there are multiple languages available. So, a diverse population can use this online YouTube thumbnail saver with great ease.
4. YouTube-thumbnails.com

As a free and open for all YouTube thumbnail saver, this one lets users get the thumbnail of their choice in the quality of their choice. Using this YouTube thumbnail downloader won’t cost a penny, no matter how many thumbnails are downloaded. It also has a very simple user interface. Just enter the YouTube video link and press Find. The qualities of the thumbnail supported by this tool are MQ 320x180, HQ 480x360, SD 640x480, and HD 1280x720 , and will be almost instantly displayed. Click on the quality you wish to save locally, and your download will start immediately.
5. YT Thumbnail Downloader
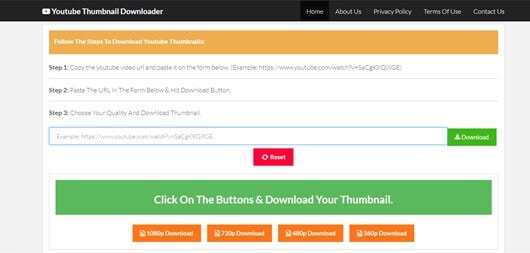
YT Thumbnail Downloader is an excellent and lightning-fast tool to download YouTube thumbnail. It poses no limitations or charges on the use. Moreover, you can custom select the resolution of the thumbnail before you click to save. This YouTube thumbnail downloader prides itself on being the fastest in the market. The thumbnail processing time is just 2 seconds, after which you can download YouTube thumbnail. Besides, this YouTube thumbnail saver is safe and secure as it doesn’t display tons of ads and also does not save the user’s data.
6. BoingBoing
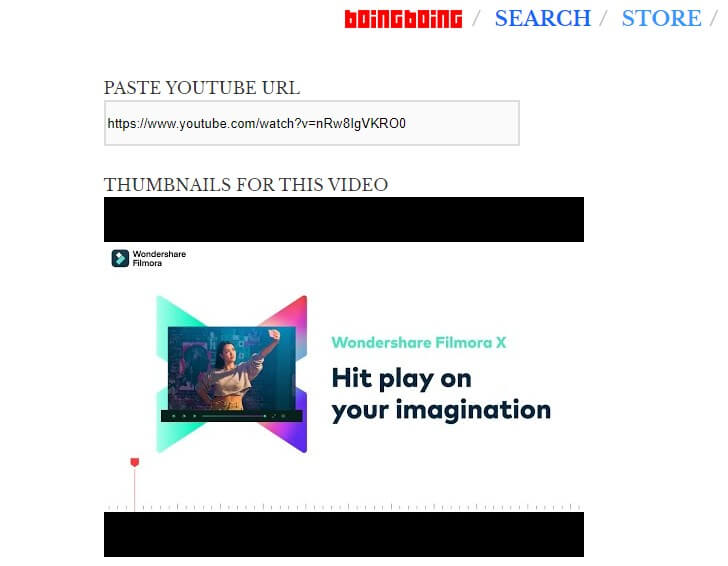
BoingBoing is also a free and very easy-to-use YouTube thumbnail saver. All you have to do is paste the URL you copied, and this YouTube thumbnail downloader will take care of the rest. There is no button to press to start the process. The thumbnails are almost instantly loaded. However, BoingBoing displays a lot of annoying ads. Also, the different qualities that are displayed don’t mention the size, and you will have to press and hold the image to download. All in all, this YouTube thumbnail saver is worth your time and effort as it is fast at what it does.
7. Get YouTube Thumbnail
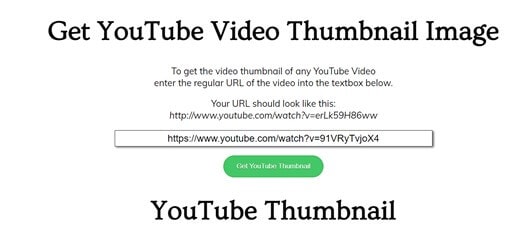
Get YouTube Thumbnail is a very simple tool to download YouTube thumbnail. It comes with no extra features. But, it is widely used due to the fact that it is a very straightforward YouTube thumbnail downloader. It doesn’t even display intrusive ads or pop-ups. But, the downside is that the quality options are limited. There are only 2 qualities available for download, and no size is mentioned on them. To download YouTube thumbnail, you will have to right-click and open the image URL created and then save it in the next tab.
8. YouTube Thumbnail Image
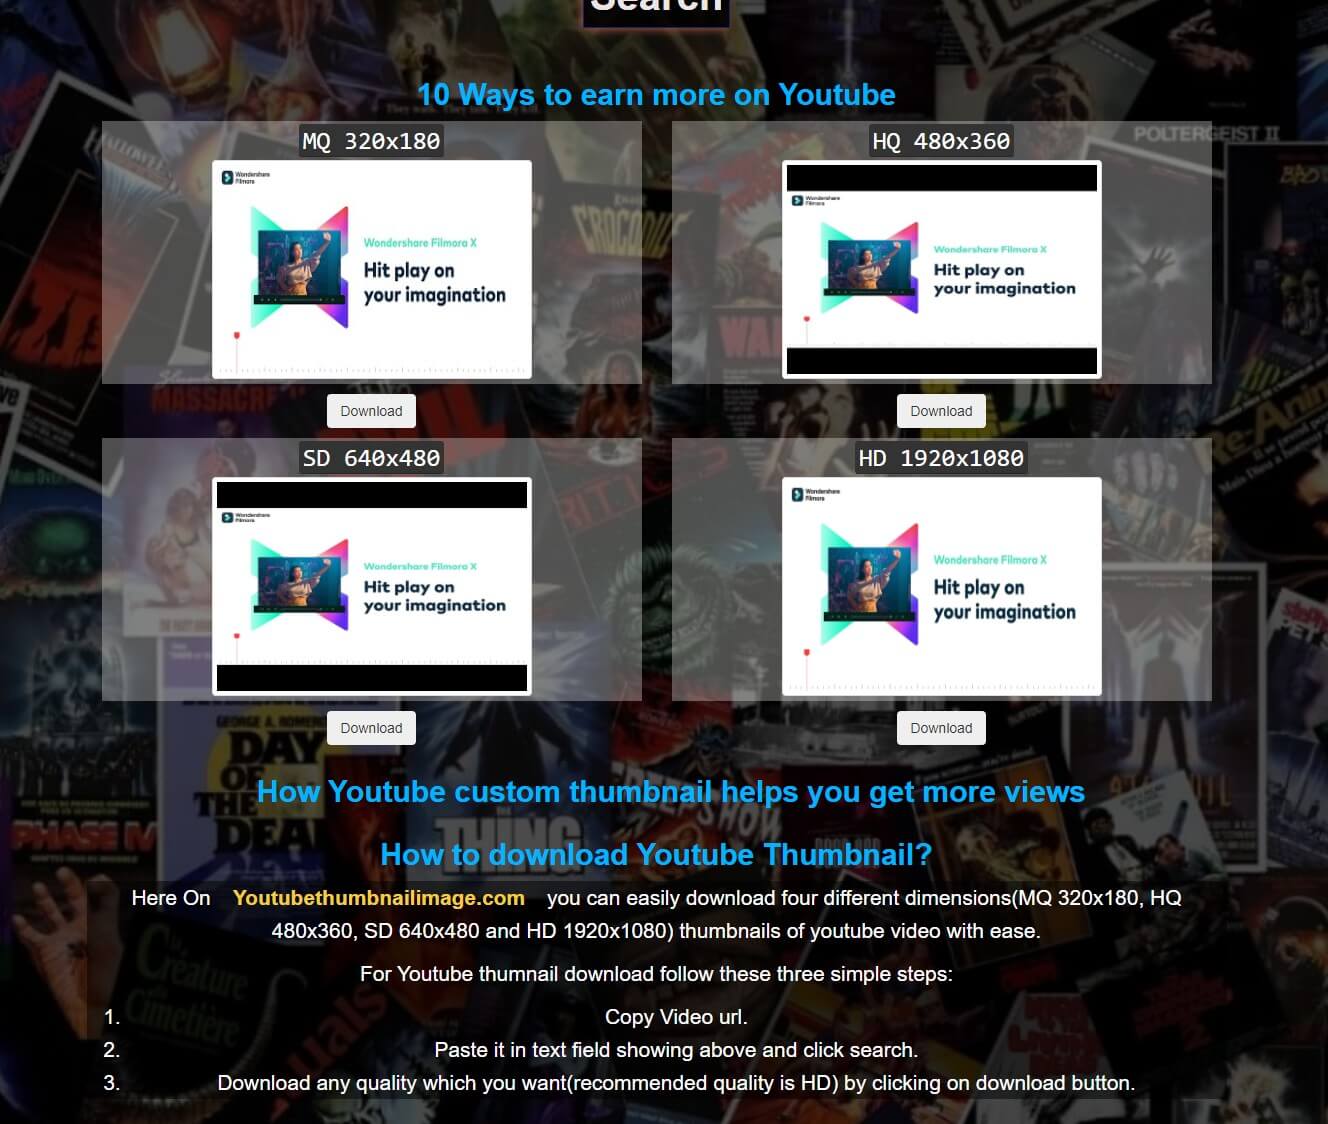
A fast and easy way to download YouTube thumbnail is by using this powerful tool available online. Without any hassle of downloading or registering an account, you can easily copy-paste the link of your favorite video and click on Search. You will be displayed with four qualities such as 1920x1080 (HD), 640X480 (SD), 480X360 (HQ), and 320x180 (MQ). This feature makes it a versatile YouTube thumbnail downloader as users can choose the quality depending on the space they have available. Other than this, the YouTube thumbnail saver offers round-the-clock customer support. So, in case you face any technical issue or are unable to download YouTube thumbnail, this tool will be present for prompt assistance.
9. Thumbnail-download.com
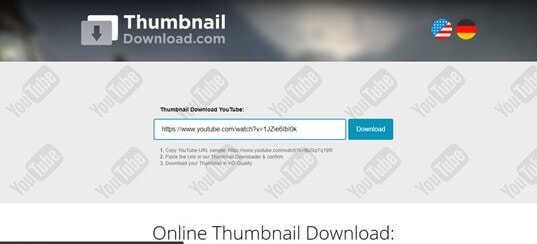
Another addition to the list of top YouTube thumbnail downloader tools is this one. Like the other tools, this one is also free for use and is renowned for being super fast. No matter which YouTube video you want to save the thumbnail from, this tool will allow you easy access to download it in HD quality. The website is SSL encrypted, so the user’s data is protected, and thus this is a safe site to download YouTube thumbnail. What’s more, this YouTube thumbnail downloader is robust. Although there a few ads displayed, they aren’t very intrusive and do not disrupt the user experience.
Bonus Tip: The Best YouTube Video Editor-Wondershare Filmora
With Wondershare Filmora, you can create captivating videos by using one-click tools. This powerful yet intuitive video editor is loaded with various high-end editing features that can help you add striking and cinematic effects to your videos. Motion tracking, color matching, and even keyframing are made easy through Filmora.
1.After you download and install Filmora on your PC, launch it. Then, click on File and tap on Import Media Files.

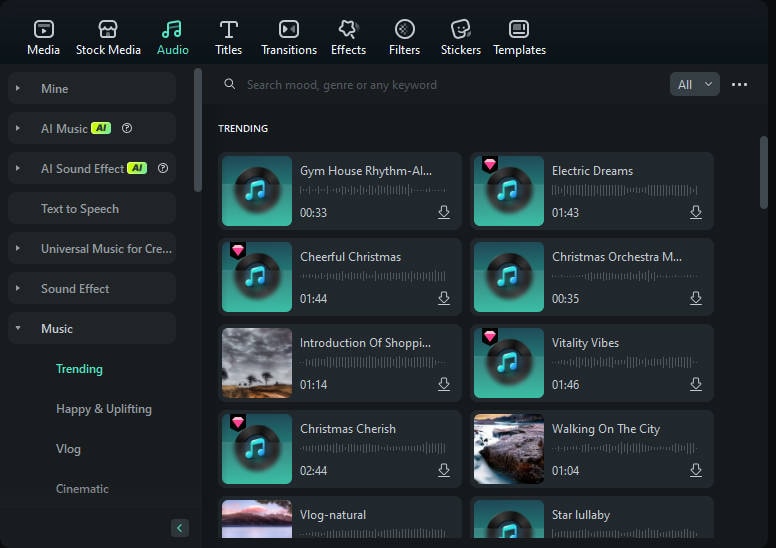
2.The Audio tab of Filmora offers a variety of music. Just click on the plus icon on any audio to add it to your video as background music. Cut the extra audio part to match your video length.
3.From the Titles tab, you can choose a preset template and then personalize it by double-clicking the title you have added to the timeline.

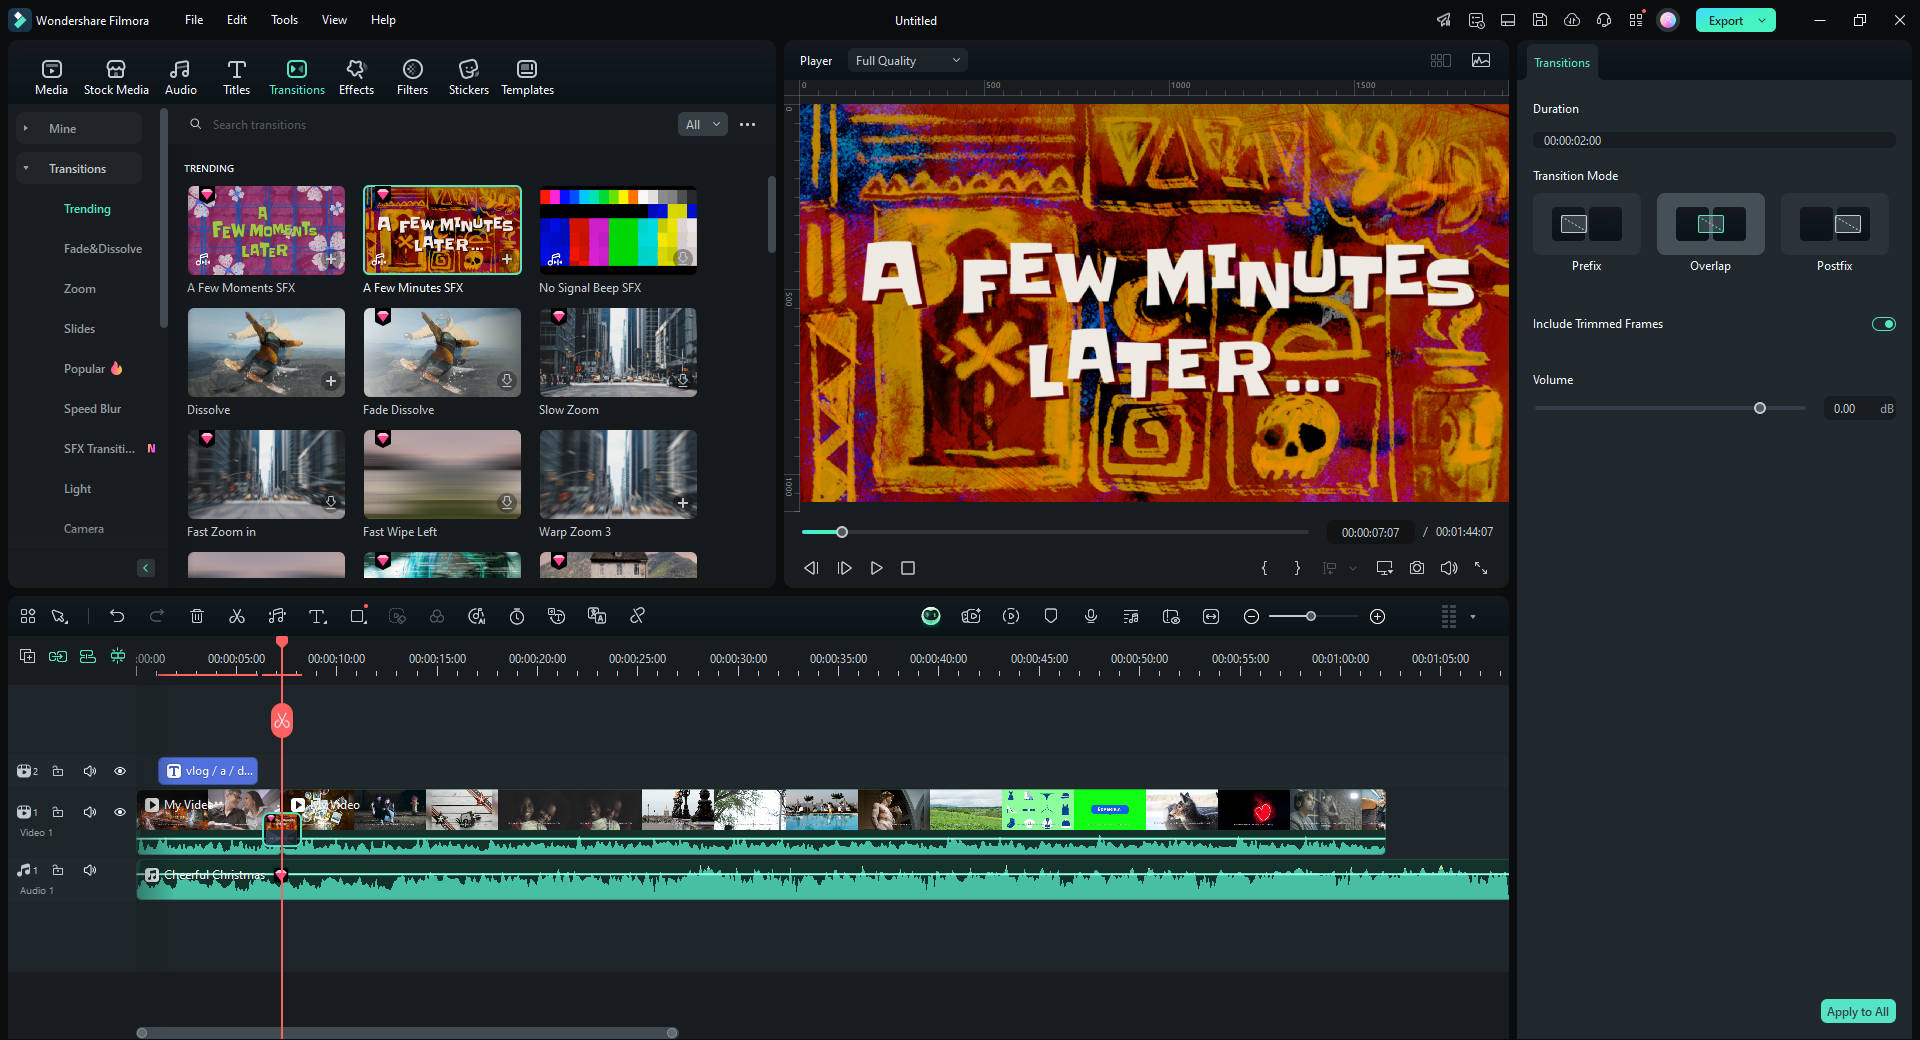
4.The Transition tab also displays multiple types of dynamic transitions; click to add to the timeline and then drag to adjust the duration of the effect.
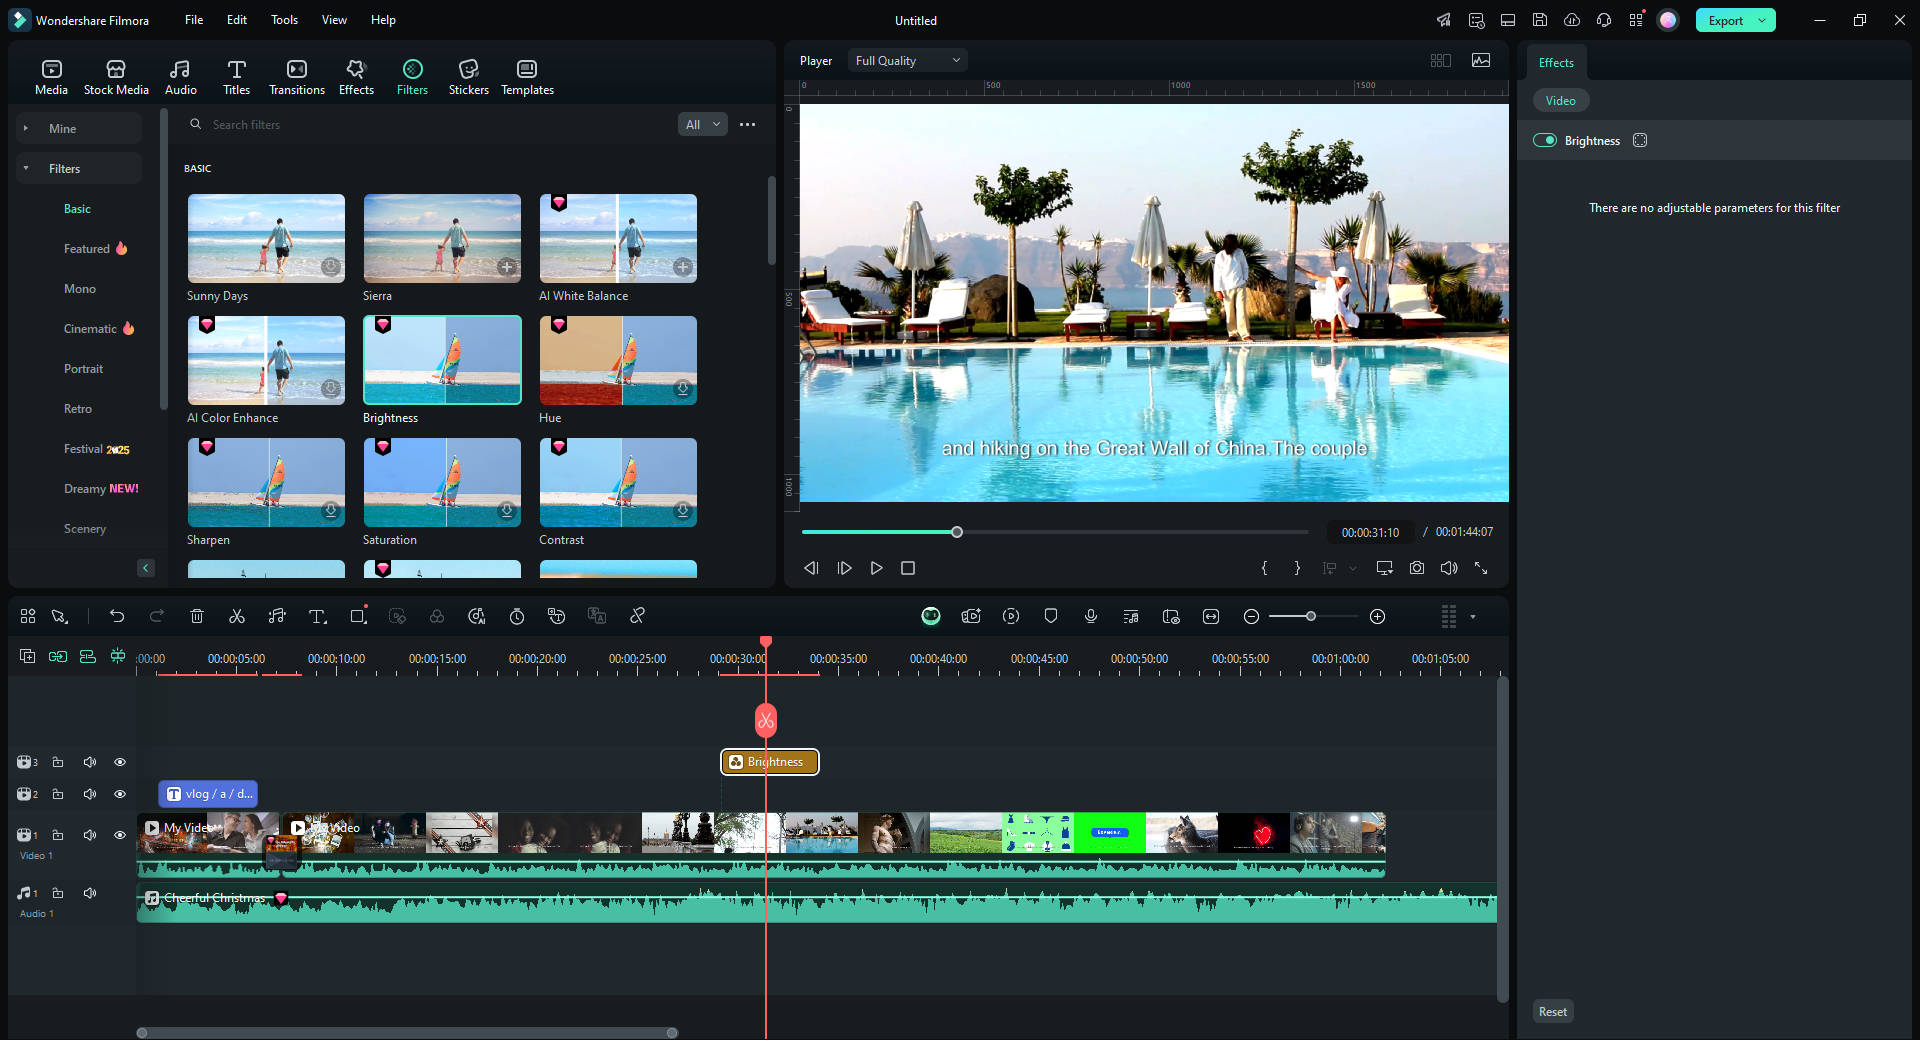
5.You can also choose an aesthetic filter or overlay from the Effects tab.
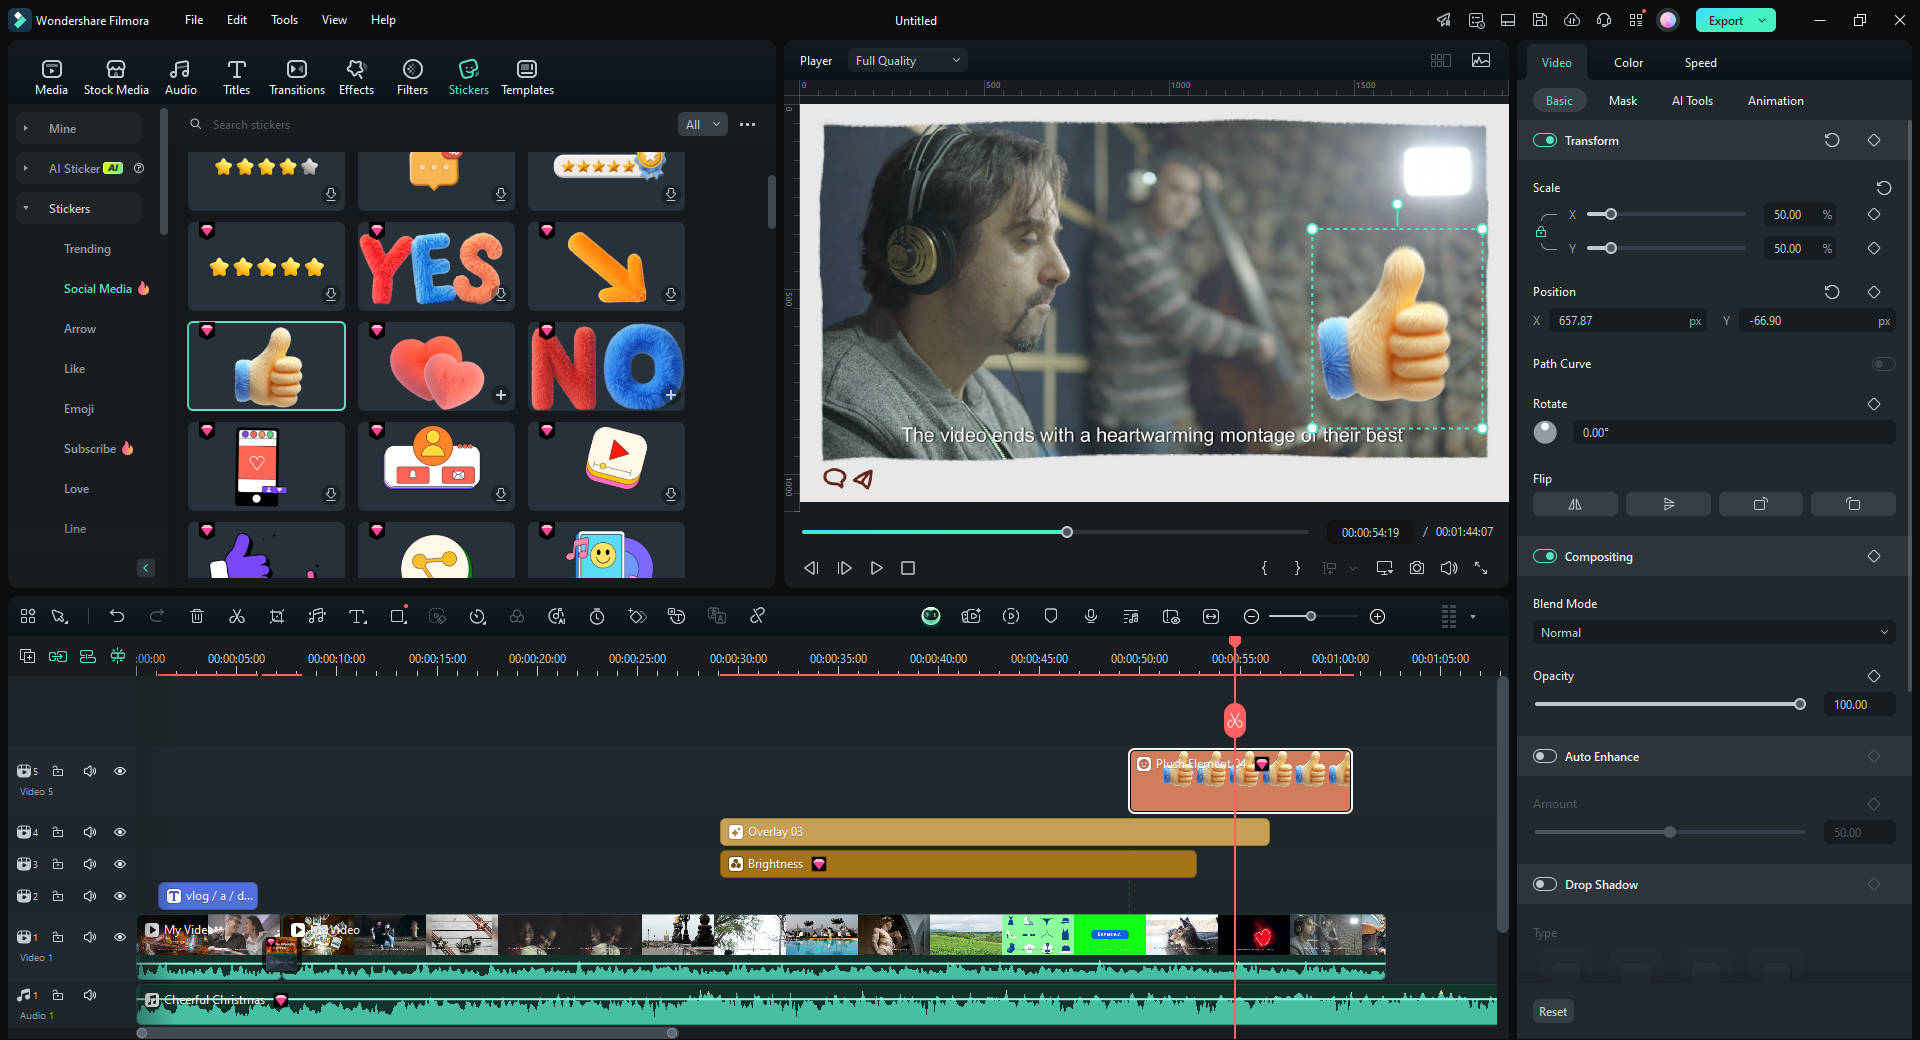
6.The Elements tab features numerous categories like Love, Journey, Badges, and many more. You can add these elements to your video and then adjust their size, rotation, opacity, and much more.
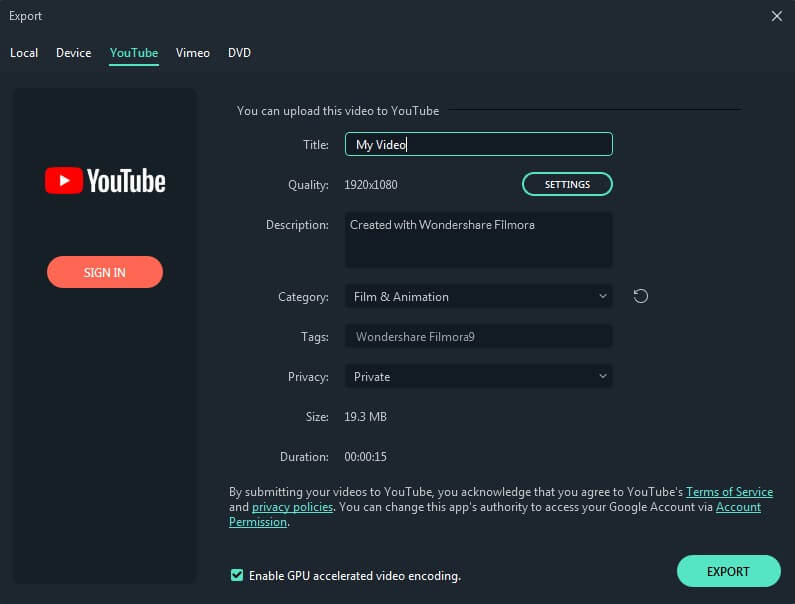
7.Lastly, you can click on Export and either save the video locally or share it directly on social media.
Conclusion
Finally, you can download YouTube thumbnail at the site of your choice. Whether you want to download it in HD or in a lower quality, one of the YouTube thumbnail downloaders mentioned above will be able to fulfill your requirements.
No more browsing through unsecured and ad-laden sites to find a reliable YouTube thumbnail downloader. We have hand-picked, tried, and tested all these tools. All you have to do is take your pick of the YouTube thumbnail saver that best fits your needs. Any tool you choose, you will be able to download YouTube thumbnail with ease and security.
Shanoon Cox
Shanoon Cox is a writer and a lover of all things video.
Follow @Shanoon Cox
Comprehensive iTunes Update: Upload YouTube Videos Guide
Create High-Quality Video - Wondershare Filmora
An easy and powerful YouTube video editor
Numerous video and audio effects to choose from
Detailed tutorials provided by the official channel
Initially, iOS users had the option to load videos directly to YouTube via the tap-to-upload feature. However, this option is missing in the recent iOS devices versions. Therefore, many users search for possible ways to post a video on YouTube from iPhone. For this, you have to put some considerations into place before moving on. The video title length should not exceed 100 characters, while the description is maintained at 5,000 characters. Also, ensure the video length doesn’t exceed 15 minutes. Let’s roll out the best ways to upload your videos and make that big catch on subscribers.

In this article
01 [ How to upload a video to YouTube from iPhone or iPad](#Part 1)
02 [Why your phone doesn’t post videos to YouTube](#Part 2)
03 [Make your YouTube video better with Filmora](#Part 3)
How to upload a video to YouTube from iPhone or iPad
Are you ready to start on that big adventure and share your videos on YouTube? Follow these steps to learn how to upload a video to YouTube from your iPhone.
Method 1: Upload using the YouTube iOS app
Using the YouTube app is the simplest way to upload your YouTube videos. The YouTube app should be installed on your iOS device.
Step 1. Launch the YouTube app on your device, then sign in to your account. If you don’t have an account yet, you will need to “Sign up” for a new one before continuing the upload process.
Step 2. Click on the “+” icon found at the bottom of the screen.
Step 3. Then choose the “Upload a video” option from the populated list of options.
Step 4. Check out the pop-up that appears and “Allow access” to it.
Step 5. Edit your video to your preference by trimming or cropping as you desire. Then click on the “Next” option.

Step 6. Add “title and description” to your video. Remember, the title should contain less than 100 characters and the description no more than 500 characters.
Step 7. Then set the visibility mode as “Public” to enable you to share your video over the internet.
Step 8. Click on the “Upload” button to finally upload your video to YouTube.

Method 2: Upload using Photo App
The Photo App has a “Share” option that you can use to upload your videos to YouTube. Here is the guide.
Step 1. Go to your iOS device and tap on the “Photos” app.
Step 2. Then tap on the “Videos Folder” to locate the video you wish to upload to YouTube.

Step 3. Next, tap on the video that you want to upload.
Step 4. Then tap on the “Share” icon located at the bottom left of your iOS device screen.
Step 5. You’ll then access a “Share” menu from where you have various share options for your video.
Step 6. Choose the “YouTube” option to continue to share your video there. At this juncture, ensure you have logged in to your Google Account.

Step 7. You need to provide a “Title” and “Description” of your video. Then go to the “Privacy” Options and make your video “Public.”
Step 8. Finally, tap on the “Publish” tab found at the top-right corner of your screen to make your video viewable by the public.

Method 3: Upload video to YouTube using Safari
Safari is another alternative method to upload a video to YouTube.
Step 1. First, go to “youtube.com” on Safari and sign in.

Step 2. Then tap on the “account” icon at the top right side of the screen.
Step 3. Hit on the “Upload” icon and wait to be redirected to the YouTube Studio desktop site.
Step 4. Click on the “Select Files” option.
Step 5. Choose the video you wish to add to YouTube from the “Photo” library and tap on the “Add” button.

Step 6. Add your video’s “title and description” and hit the “Next” button.
Step 7. Tap on the “Next” button once more to go to the “Visibility” page.
Step 8. Select the “Public” option to upload your video to the public.
Why your phone doesn’t post videos to YouTube
Despite learning how to upload to YouTube from iPhone, you may be perplexed to realize that your phone refuses to post videos to YouTube. What could be the reason?
1) YouTube issues
In most cases, the problem doesn’t arise from your phone but from YouTube. This streaming app may also experience some hitches along the way. Remember that even if your phone sync with your YouTube account to upload videos from the “Camera Roll,” YouTube isn’t managed from the Camera Roll but the YouTube app directly. You can solve the issue by signing out of your YouTube account and signing back in.
2) Connection Strength
Some videos may appear quite large and cause a time-out during the upload process. Check your Wi-Fi or internet connection strength to determine if it needs a boost or wait until the streaming strength is strong for a quick upload. Test your internet speed by searching “internet test speed” on Google. Then click the “Run Speed Test” in the search box. A window will open and give you an estimate of the Mbps that your connection is operating at. If too low, switch to other alternatives.
3) Verify your YouTube account
Verifying your account will help you to enjoy YouTube’s full features. It’s then that you’ll manage to upload videos without any drawbacks. Also, that’s when you’ll manage to upload longer videos that go beyond the 15-minute duration.
4) Pay attention to the video size
There is a limit for videos to post to YouTube. If it is too large or long, the upload will cancel before completion.
5) Be patient
YouTube can save your partial upload for 24 hours. So, you can continue to upload from where you left. Learn to be patient as there could be a surge of user traffic, especially during evenings.
Make your YouTube video better with Filmora
Good video quality will make you go miles ahead of your marketing gig. You can use Filmora mobile application to make your videos look better before uploading them to YouTube. This intuitive video editing app has advanced features and several ways to compose creative videos.
- Stunning video effects that let you add animated text to video
- Easily record your voice-overs with its perfect sound effects
- Split functionality that allows you to slice your video footage into two or more separate video clips
- Playback your clips in reverse and adjust the speed for fast or slow motion
- Select the best aspect ratio for your video
- Advanced camera to create emoji selfies and other video beautification
- Directly share your videos to social media sites like YouTube and Facebook.
Check out the steps to edit your video with Filmora on your iOS device
Step 1. Download and install Filmora
For iOS devices, go to the “Apple Store” to download and install the app. Also, allow it to access your videos, camera, and pictures in the process.
Step 2. Import video
You may already have a video in your library that you wish to upload to YouTube. Nonetheless, you can shoot a video afresh to add. To shoot one, you need to settle on a topic before recording and downloading other images you may need. Ensure you watch what you are filming and use adequate lighting during the shooting process.
Next, begin to import your video file. Just open the application and select the “Create new video” option. Then choose the “Video” icon and select a folder that contains the video to be added. Hit the “Add” button from the bottom right corner.
Step 3. Edit video
Filmora has several editing features to make your video better. Use the “Edit tools” feature to turn your video into an impeccable piece. Easily add filters, adjust the speed, or create subtitles, among other functions. You can also split, trim, or delete the unwanted clip parts.
It is important to add a title and description to your video. Just use the “Titles” button to add the title. Other precepts that you can add include transitions, sound like voice-over,
Step 4. Export and share
You’ve just finished creating and editing your video. Click on the “Save” tab and let the application export your video. Then select the “Save to Camera Roll” option to save the video to your iPhone. Finally, you can upload and share the video directly to your YouTube account.
Conclusion
● However, it appears to be a difficult task; you must have found relief after going through these procedures. You don’t need prior knowledge on how to upload a video to YouTube from your iPhone. Several options are at your disposal. You can use the Safari, YouTube app, or the Photo app to upload your videos. The better part is that you can create top-notch videos with Filmora. This mobile video editing app has a lot to offer, ensuring quality content.
Initially, iOS users had the option to load videos directly to YouTube via the tap-to-upload feature. However, this option is missing in the recent iOS devices versions. Therefore, many users search for possible ways to post a video on YouTube from iPhone. For this, you have to put some considerations into place before moving on. The video title length should not exceed 100 characters, while the description is maintained at 5,000 characters. Also, ensure the video length doesn’t exceed 15 minutes. Let’s roll out the best ways to upload your videos and make that big catch on subscribers.
In this article
01 [ How to upload a video to YouTube from iPhone or iPad](#Part 1)
02 [Why your phone doesn’t post videos to YouTube](#Part 2)
03 [Make your YouTube video better with Filmora](#Part 3)
How to upload a video to YouTube from iPhone or iPad
Are you ready to start on that big adventure and share your videos on YouTube? Follow these steps to learn how to upload a video to YouTube from your iPhone.
Method 1: Upload using the YouTube iOS app
Using the YouTube app is the simplest way to upload your YouTube videos. The YouTube app should be installed on your iOS device.
Step 1. Launch the YouTube app on your device, then sign in to your account. If you don’t have an account yet, you will need to “Sign up” for a new one before continuing the upload process.
Step 2. Click on the “+” icon found at the bottom of the screen.
Step 3. Then choose the “Upload a video” option from the populated list of options.
Step 4. Check out the pop-up that appears and “Allow access” to it.
Step 5. Edit your video to your preference by trimming or cropping as you desire. Then click on the “Next” option.
Step 6. Add “title and description” to your video. Remember, the title should contain less than 100 characters and the description no more than 500 characters.
Step 7. Then set the visibility mode as “Public” to enable you to share your video over the internet.
Step 8. Click on the “Upload” button to finally upload your video to YouTube.
Method 2: Upload using Photo App
The Photo App has a “Share” option that you can use to upload your videos to YouTube. Here is the guide.
Step 1. Go to your iOS device and tap on the “Photos” app.
Step 2. Then tap on the “Videos Folder” to locate the video you wish to upload to YouTube.
Step 3. Next, tap on the video that you want to upload.
Step 4. Then tap on the “Share” icon located at the bottom left of your iOS device screen.
Step 5. You’ll then access a “Share” menu from where you have various share options for your video.
Step 6. Choose the “YouTube” option to continue to share your video there. At this juncture, ensure you have logged in to your Google Account.
Step 7. You need to provide a “Title” and “Description” of your video. Then go to the “Privacy” Options and make your video “Public.”
Step 8. Finally, tap on the “Publish” tab found at the top-right corner of your screen to make your video viewable by the public.
Method 3: Upload video to YouTube using Safari
Safari is another alternative method to upload a video to YouTube.
Step 1. First, go to “youtube.com” on Safari and sign in.
Step 2. Then tap on the “account” icon at the top right side of the screen.
Step 3. Hit on the “Upload” icon and wait to be redirected to the YouTube Studio desktop site.
Step 4. Click on the “Select Files” option.
Step 5. Choose the video you wish to add to YouTube from the “Photo” library and tap on the “Add” button.
Step 6. Add your video’s “title and description” and hit the “Next” button.
Step 7. Tap on the “Next” button once more to go to the “Visibility” page.
Step 8. Select the “Public” option to upload your video to the public.
Why your phone doesn’t post videos to YouTube
Despite learning how to upload to YouTube from iPhone, you may be perplexed to realize that your phone refuses to post videos to YouTube. What could be the reason?
1) YouTube issues
In most cases, the problem doesn’t arise from your phone but from YouTube. This streaming app may also experience some hitches along the way. Remember that even if your phone sync with your YouTube account to upload videos from the “Camera Roll,” YouTube isn’t managed from the Camera Roll but the YouTube app directly. You can solve the issue by signing out of your YouTube account and signing back in.
2) Connection Strength
Some videos may appear quite large and cause a time-out during the upload process. Check your Wi-Fi or internet connection strength to determine if it needs a boost or wait until the streaming strength is strong for a quick upload. Test your internet speed by searching “internet test speed” on Google. Then click the “Run Speed Test” in the search box. A window will open and give you an estimate of the Mbps that your connection is operating at. If too low, switch to other alternatives.
3) Verify your YouTube account
Verifying your account will help you to enjoy YouTube’s full features. It’s then that you’ll manage to upload videos without any drawbacks. Also, that’s when you’ll manage to upload longer videos that go beyond the 15-minute duration.
4) Pay attention to the video size
There is a limit for videos to post to YouTube. If it is too large or long, the upload will cancel before completion.
5) Be patient
YouTube can save your partial upload for 24 hours. So, you can continue to upload from where you left. Learn to be patient as there could be a surge of user traffic, especially during evenings.
Make your YouTube video better with Filmora
Good video quality will make you go miles ahead of your marketing gig. You can use Filmora mobile application to make your videos look better before uploading them to YouTube. This intuitive video editing app has advanced features and several ways to compose creative videos.
- Stunning video effects that let you add animated text to video
- Easily record your voice-overs with its perfect sound effects
- Split functionality that allows you to slice your video footage into two or more separate video clips
- Playback your clips in reverse and adjust the speed for fast or slow motion
- Select the best aspect ratio for your video
- Advanced camera to create emoji selfies and other video beautification
- Directly share your videos to social media sites like YouTube and Facebook.
Check out the steps to edit your video with Filmora on your iOS device
Step 1. Download and install Filmora
For iOS devices, go to the “Apple Store” to download and install the app. Also, allow it to access your videos, camera, and pictures in the process.
Step 2. Import video
You may already have a video in your library that you wish to upload to YouTube. Nonetheless, you can shoot a video afresh to add. To shoot one, you need to settle on a topic before recording and downloading other images you may need. Ensure you watch what you are filming and use adequate lighting during the shooting process.
Next, begin to import your video file. Just open the application and select the “Create new video” option. Then choose the “Video” icon and select a folder that contains the video to be added. Hit the “Add” button from the bottom right corner.
Step 3. Edit video
Filmora has several editing features to make your video better. Use the “Edit tools” feature to turn your video into an impeccable piece. Easily add filters, adjust the speed, or create subtitles, among other functions. You can also split, trim, or delete the unwanted clip parts.
It is important to add a title and description to your video. Just use the “Titles” button to add the title. Other precepts that you can add include transitions, sound like voice-over,
Step 4. Export and share
You’ve just finished creating and editing your video. Click on the “Save” tab and let the application export your video. Then select the “Save to Camera Roll” option to save the video to your iPhone. Finally, you can upload and share the video directly to your YouTube account.
Conclusion
● However, it appears to be a difficult task; you must have found relief after going through these procedures. You don’t need prior knowledge on how to upload a video to YouTube from your iPhone. Several options are at your disposal. You can use the Safari, YouTube app, or the Photo app to upload your videos. The better part is that you can create top-notch videos with Filmora. This mobile video editing app has a lot to offer, ensuring quality content.
Also read:
- [New] Get Superior Visuals From YouTube - Downloading Thumbnails Free for 2024
- [Updated] How to Peek Behind the Curtain of Hidden YouTube Videos
- In 2024, Your Essential Guide to Mobile ASMR Sounds
- [New] Flair in Your Makeup Routine Top Tutorial Insights for 2024
- [New] In 2024, Getting the Most Out of Live Sports on YouTube TV
- [Updated] In 2024, Free Yourself with Top 4 Applications for YouTube-to-WAV Conversion
- [New] 2024 Approved Harness the Power of YouTube's Movie Maker for Professionals
- [Updated] 2024 Approved From Novice to Pro Simplified YouTube Live Streaming with OBS
- Your Pathway to Stellar Intros on Mobile Devices
- 5 Ways to Track Samsung Galaxy S23 without App | Dr.fone
- In 2024, Edit and Send Fake Location on Telegram For your Realme GT Neo 5 SE in 3 Ways | Dr.fone
- [Updated] Step By Step Borders Enhancing Images with Style on Social Platforms for 2024
- New Do You Waste Time Making Transparent Background in Paint
- [New] Detecting Unfollow Trends on Instagram for 2024
- [Updated] 2024 Approved DualView Photography Analysis
- 2024 Approved PristineCam HD VideoSuite
- Updated Optimize Your View Amazon Prime Video Screen Settings
- Title: [Updated] Harness 10 Tools for FREE Thumbnail Acquisition for 2024
- Author: Jeffrey
- Created at : 2024-06-06 14:27:00
- Updated at : 2024-06-07 14:27:00
- Link: https://eaxpv-info.techidaily.com/updated-harness-10-tools-for-free-thumbnail-acquisition-for-2024/
- License: This work is licensed under CC BY-NC-SA 4.0.
